

The Columbia River Gorge
a 3 x day waterfall photography trip to Oregon & Washington

A neon green, water, wonderland...
Arriving at Hood River at the end of May in 2016 I wasn't expecting the temperatures to be exceeding 100F and for there to be no clouds in the sky, i'd packed a whole body load of waterproofs and had expected to be fighting off the heavens for my 3 x days inside the Columbia River Gorge (I was kind of looking forward to it). Having clear blue skies was nice to wake up to and have your coffee under however it did throw up some hard challenges whilst photographing inside the gorge. On the border lines of Oregon and Washington there are around 50 x substantial waterfalls waiting to be discovered and for you landscape photographers that love to capture water in motion this place is among the best places in the world to shoot with a variation of low level gushing cascades all the way up to the towering 600ft Multnomah Falls. You really are spoilt for choice in what you can shoot so if like me you only have a short space of time (3x days) at the gorge its definitely best to have a plan before you arrive. Some of the falls are roadside (packed with people) and some require a few miles hike through the (beautiful) forest. Regardless of the difficulty to get to the falls of your choice each trailhead I started at had suitable parking options and the trails were well kept to keep you on the right direction. Below are the shots I came away with during my trip + information and tips on the best way to photograph them.
The Oneonta Gorge, Oregon
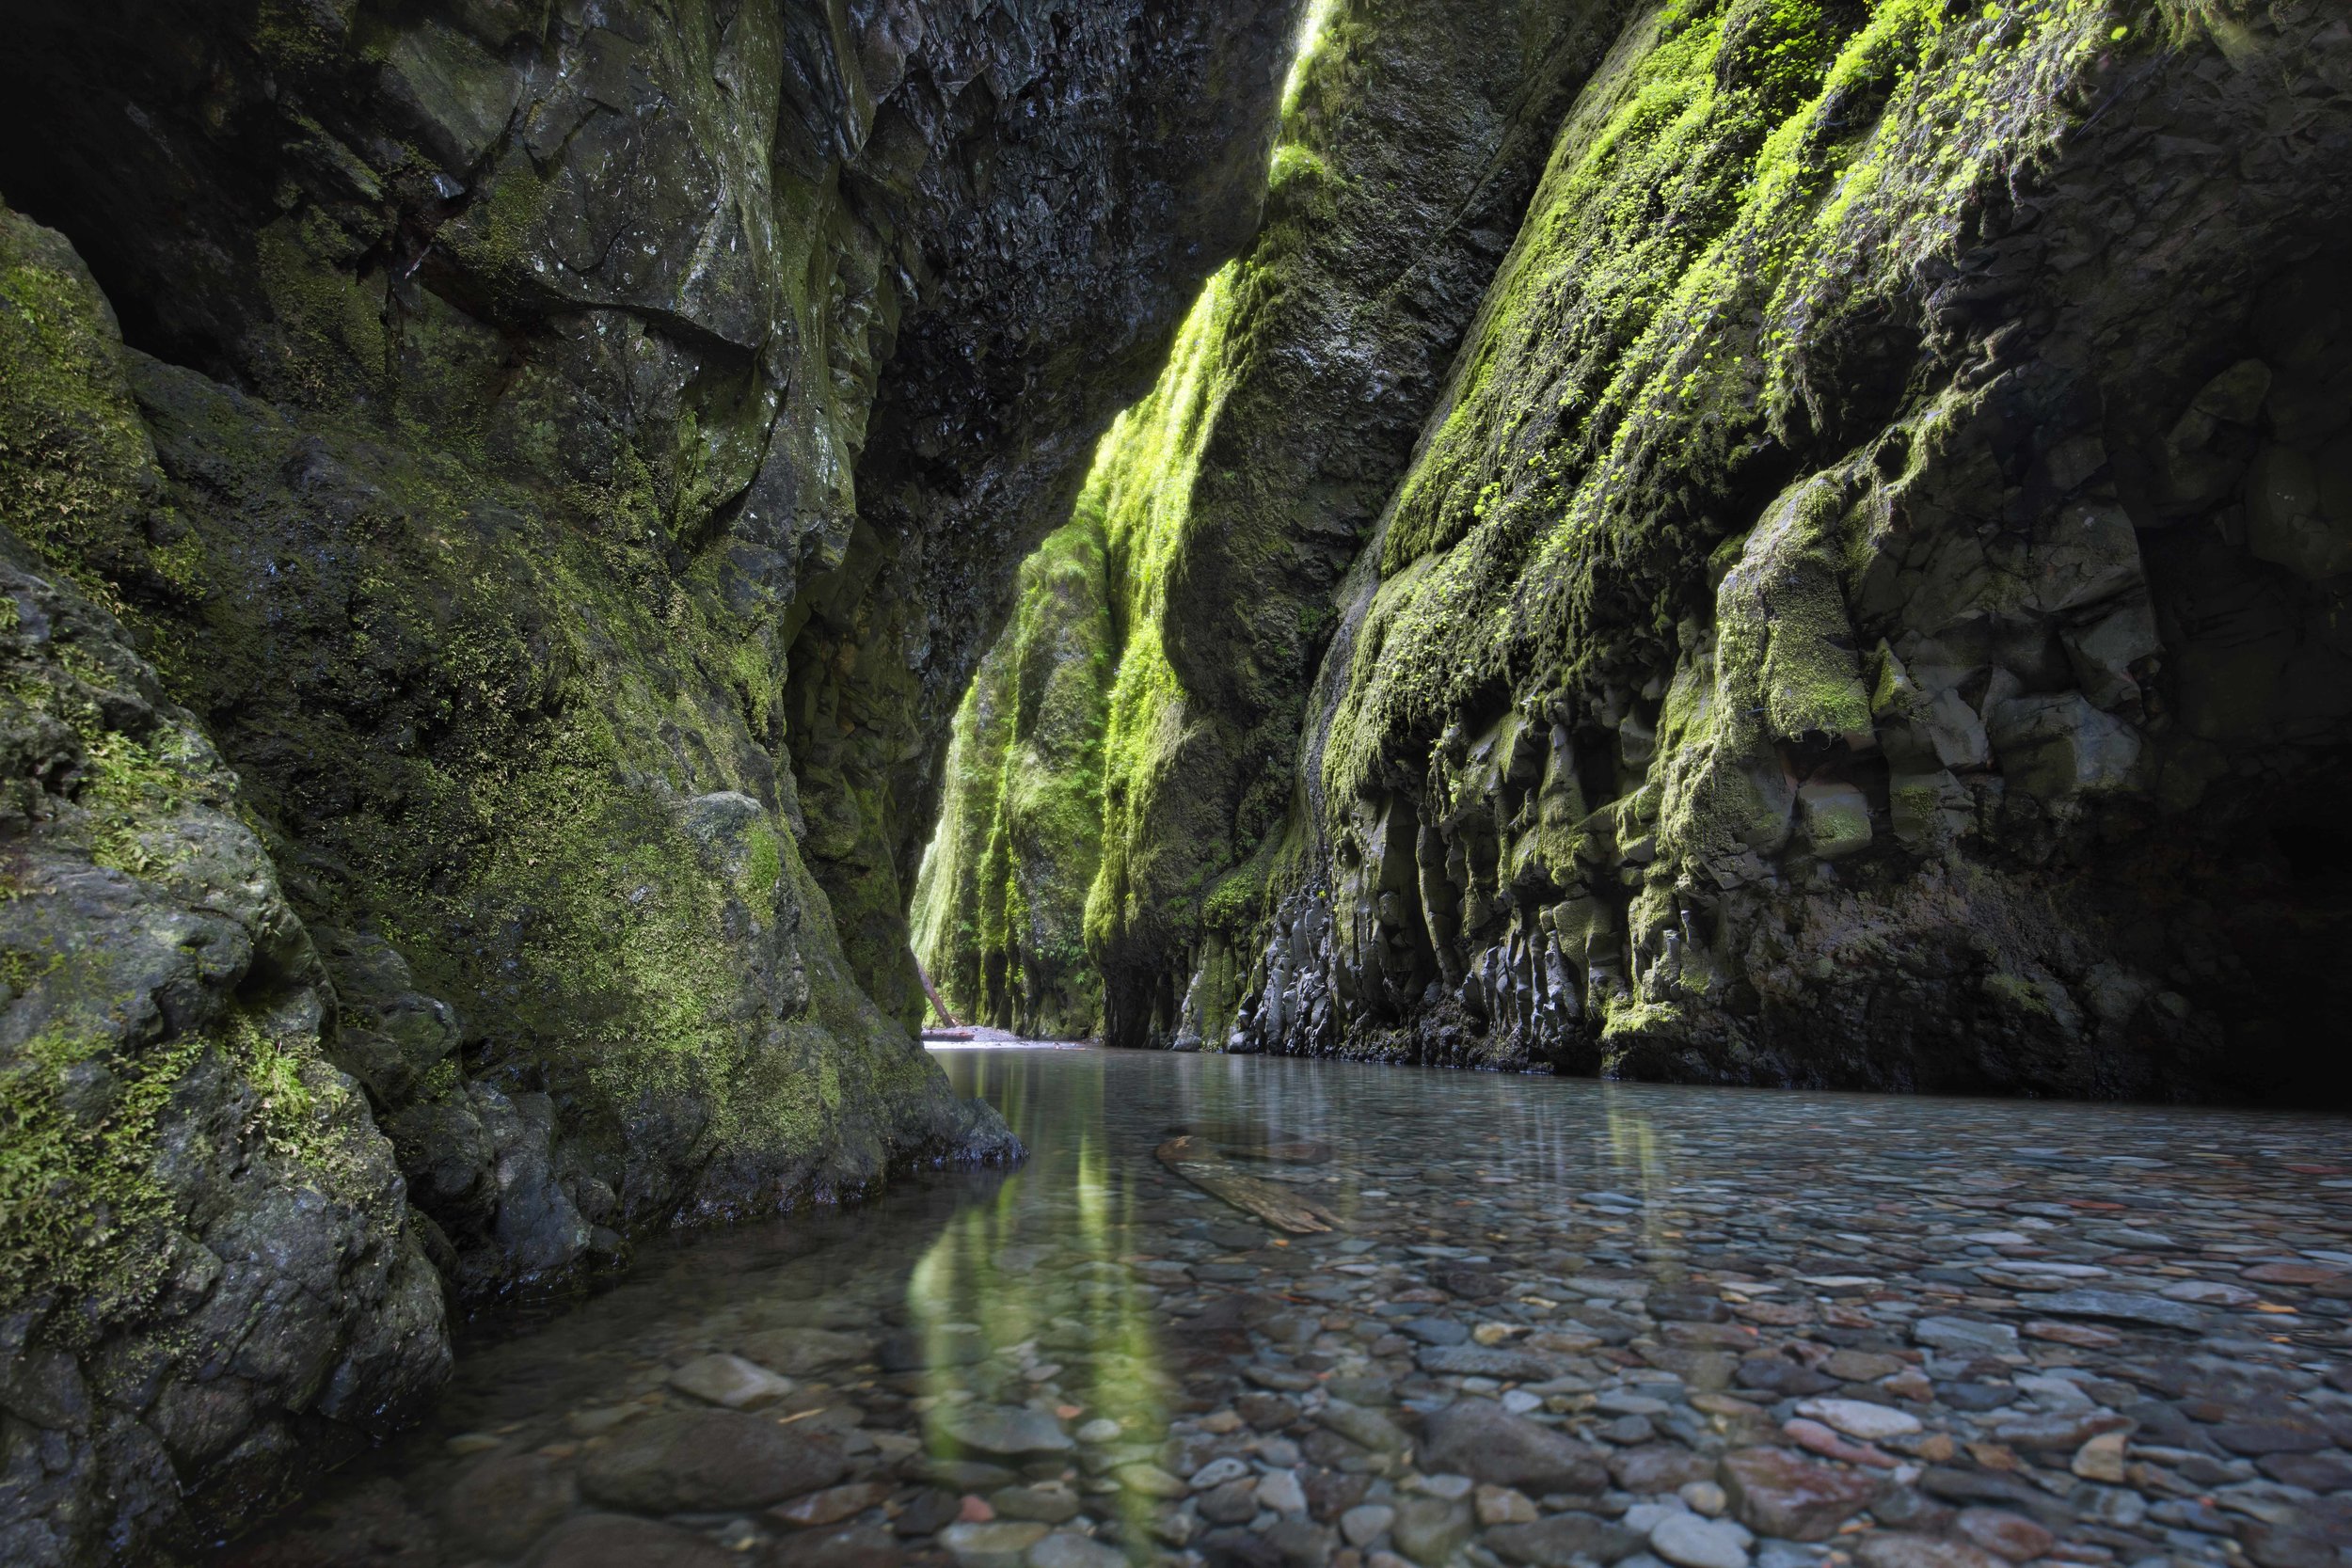
"The Green Machine" - deep inside the Oneonta Gorge.
Overview. The Oneonta Gorge is the crown jewel of the Columbia River Gorge however just be prepared to share this hike with fellow walkers if you visit in the middle of the day + have some good grip on your shoes to contend with a (slippery in places) logjam at the beginning of gorge. Once you make your way over the logjam its time to really get your feet wet, dont be hesitant as this hike is 75% walking or wading (in one area up to chest height) through the water and the other 25% scurrying across the banks that line the gorge walls. The water is very cold and can make you gasp in the deeper areas however once you overcome the initial shock your body does become used to it but you definitely should not spend a prolonged amount of time wading through the gorge, especially in the colder months. After a half mile walk through the gorge you will eventually reach the end and come face to face with the Lower Oneonta Falls however the most rewarding shots I found were as you walk through the gorge itself.
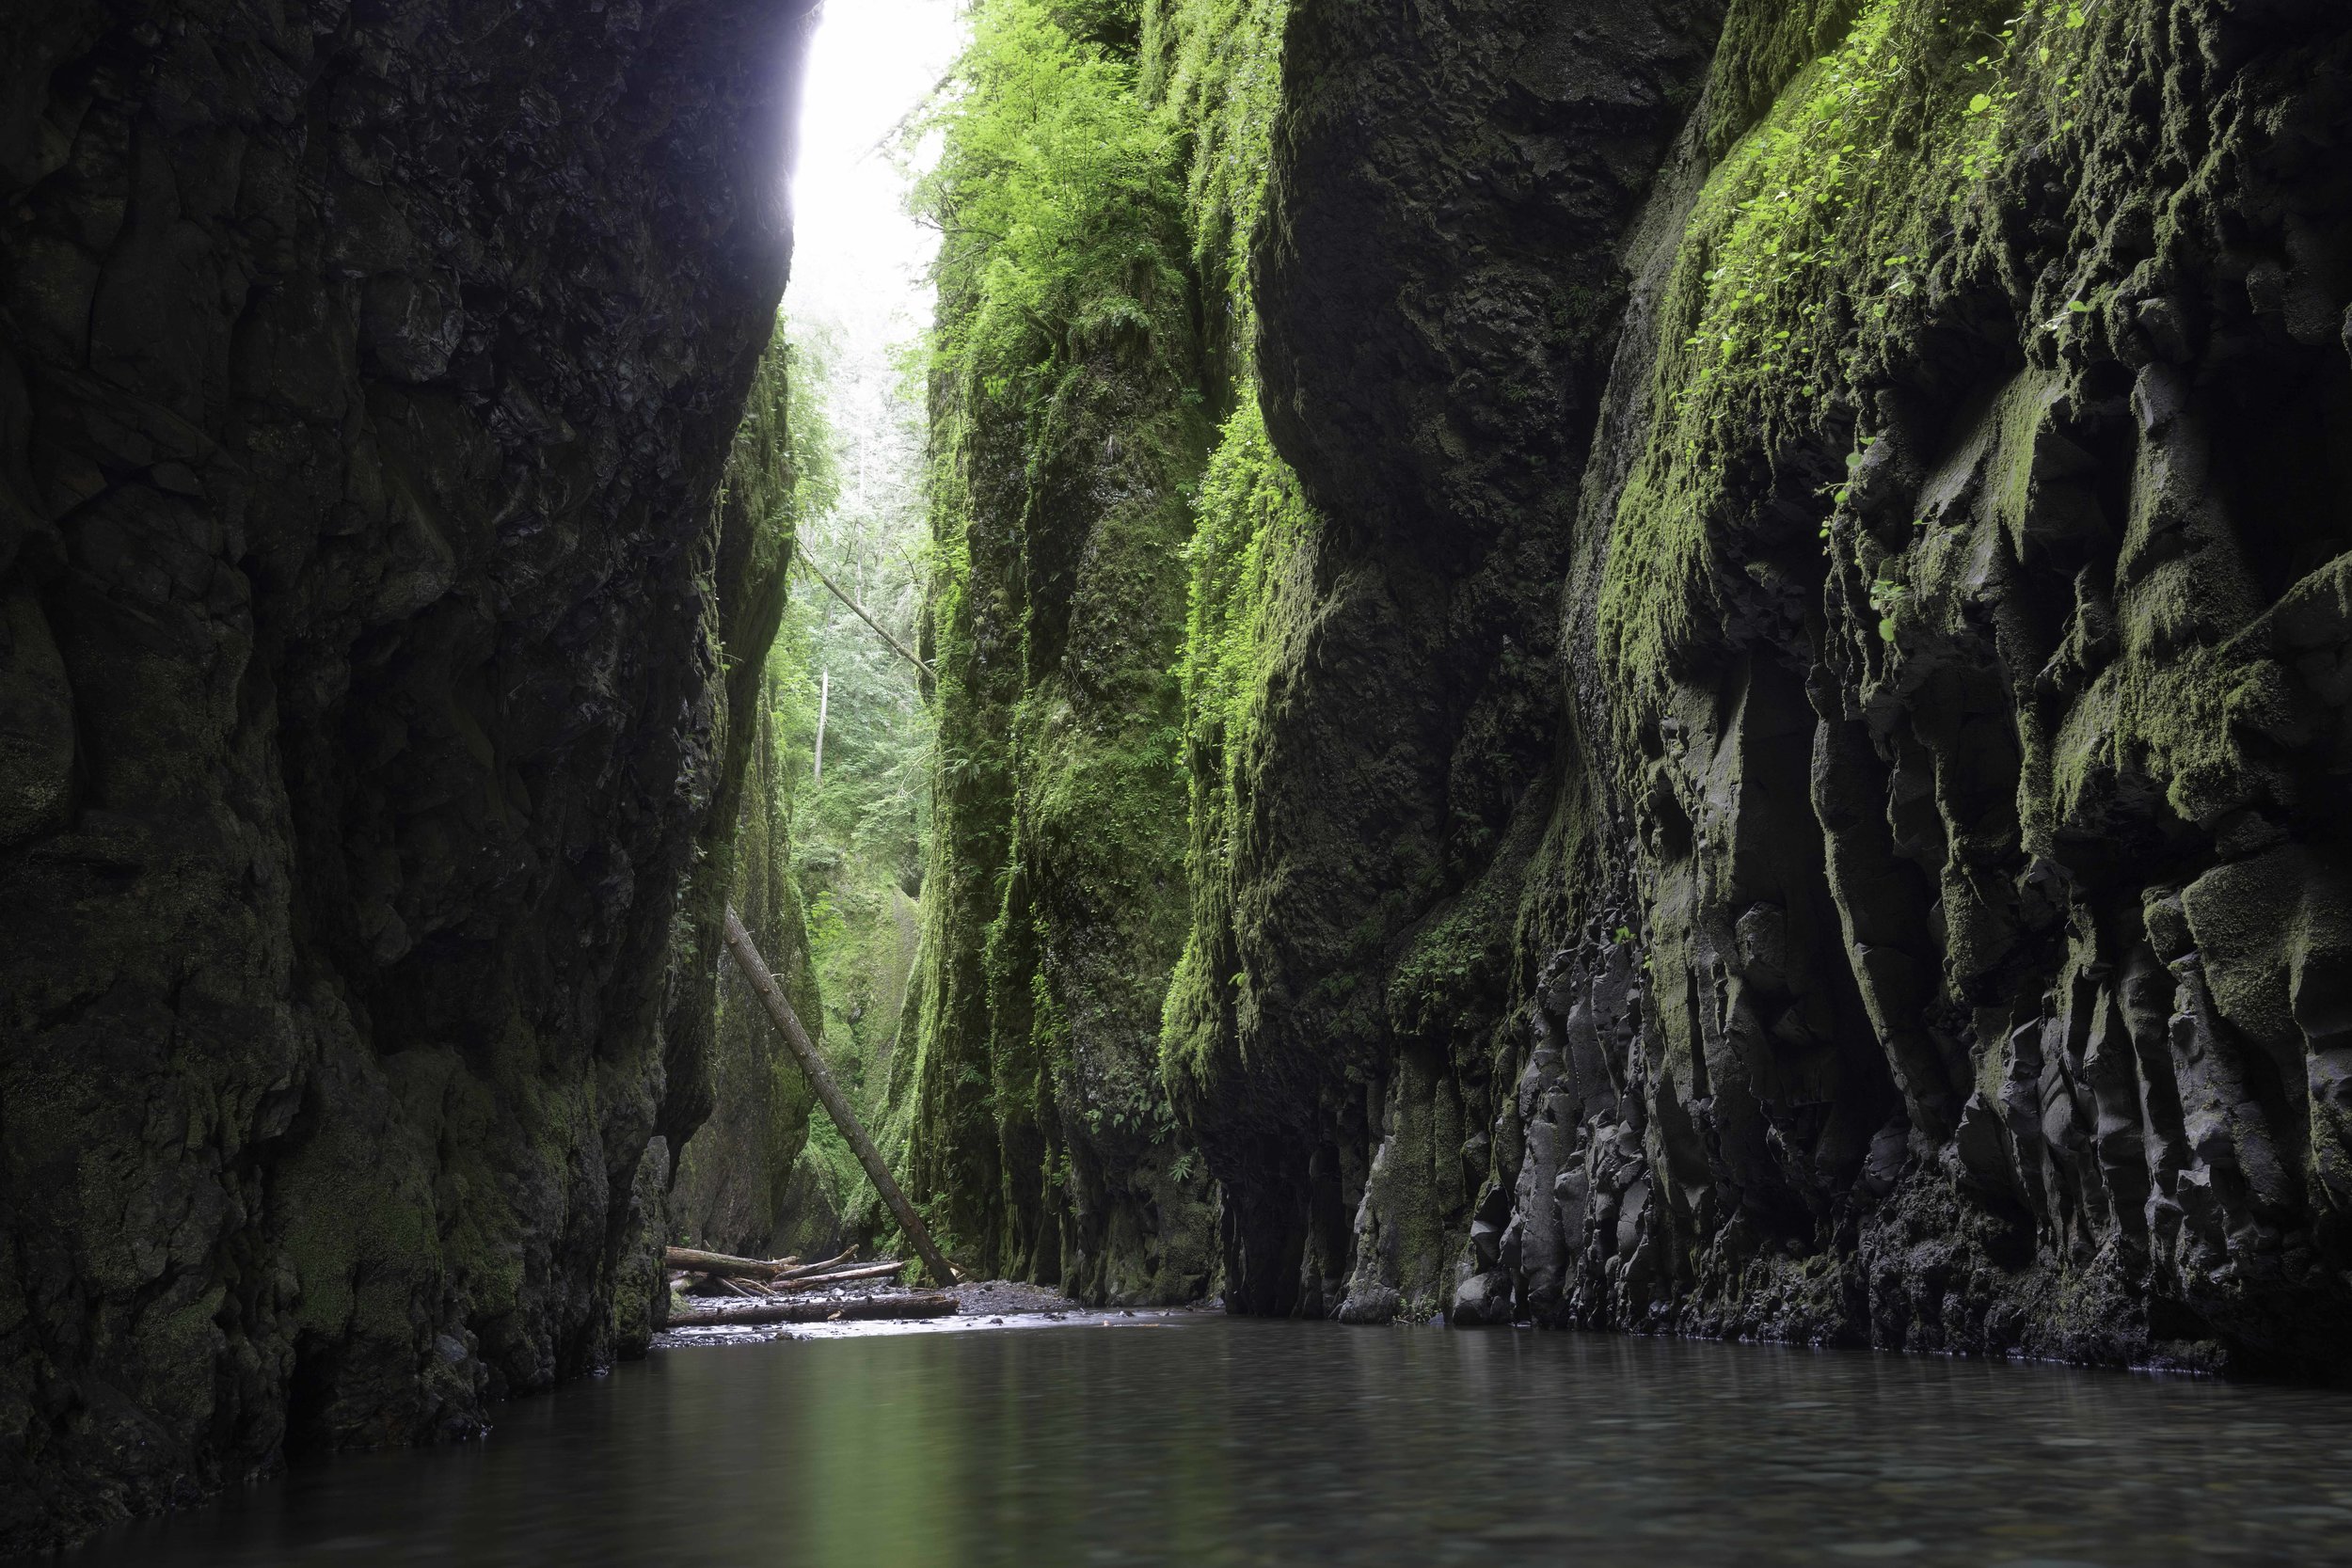
"The Green Mile" - Oneonta Gorge
I visited the Oneonta Gorge twice during my visit, once around 5pm on a Sunday afternoon which was packed from start to finish with people and also for sunrise the next morning. My first visit it was impossible to get any shots without people walking through them, I was kind of expecting this so I just decided to enjoy the moment rather than get out my camera. The gorge is stunning with its neon green walls and emerald water and I would have been unsatisfied if I didn't take advantage of capturing it whilst I was there so I decided to get up at 5am the next morning and set off on the same hike and this time there was only a small, steady trickle of people working their way up the stream. Around 3/4 up through the gorge there is a stunning section that pops out as being the most photogenic (illustrated in the two main photos above) where the water is knee deep and is emerald in colour and where the light from up ahead skims off the green walls.
Get the Shot. You will need an Ultra Wide Angle Lens (10-20mm crop/16-35mm full frame) to get the best possible visual coverage from within the gorge. A polariser filter to take the shine off of the water and to bring out the natural green hues of the gorge walls and the water. There is no real need to use an ND filter within the gorge itself however still take one on your trip here as it will be useful for the waterfall at the end. If you use a low iso of 100 with an aperture set to around F16 with a polariser inside the gorge you will be hitting a base exposure of around 10-12 seconds which will give the water a nice crystal clear look. For the main image above, "The Green Machine", I setup my tripod to the left of the gorge wall with my camera sitting approximately 6 inches above the top of the water. Positioning the camera here allowed for me to clear out of view the trail, a fallen log, a few people congregated up above and also a very harsh beam of light that ultimately it would blow out the photograph altogether if shot straight on. Moving to the side allowed for this light to gently feather across the right hand side of the gorge wall which added a nice neon glow to the moss and a sparkle to the water without overexposing the whole scene. This is something to bear in mind if you are planning an early morning shoot within the gorge. For the smaller image titled "The Green Mile" I shot an hour later on my way back out, the light had moved over the gorge a little further which ultimately made the shot slightly duller and the colours more muted however it did allow me to capture the route up ahead without a hugely over exposed light beam overhead. For both these shots you will be submerged in the cold water whilst you setup, compose and take your shots...my advice is if your feet do get too cold is to just leave the tripod and camera where it is and move onto the banks to warm up for a few minutes and then head back every now and again to shoot a few shots. The flowing water was extremely calm passing through so no need to worry about your camera becoming submerged by the current.
Dynamic Range...is huge! To achieve a shot similar to "The Green Machine" or "The Green Mile" you will need to bracket a series of exposures (5 x will do the trick) and then process your images afterwards in Photoshop by way of Luminosity Blending, Manual Layer Blending or through automatic HDR software to get an evenly exposed image. One shot will not be enough to cover the darkest shadows in the walls and the brightest highlights up above the gorge walls. Even if you are unfamiliar with Photoshop exposure blending techniques or HDR software then make sure you use your cameras exposure bracketing function to take a series of varied exposures of the scene you shoot within the gorge. You can always get to know how to use blending techniques or HDR software after your trip. This is one regret I have with my very first photography trips to Utah, although I will always try to use ND Graduated Filters to level out the exposure in some instances (like shooting in gorges or slot canyons) ND Grads are useless as most the time the sky is not in view. Take at least 1x underexposed shot for the light above the gorge, a base exposure for the detail in green walls and water and at least 1x over exposed shot to bring out the detail in the darker areas of the gorge walls. For more info on blending techniques in Photoshop check out Jimmy McIntyres website Shutterevolve.com and his Raya Pro plugin, a great tool to use for luminosity and manual blending.
Travel. The Oneonta Gorge is situated 30 minutes West of Hood River or 45 minutes East of Portland. The trail head is very easy to reach with a quick turn off of the I-84.
Oneonta Falls, Oregon
Overview.


